DIY Weed Killer: Your Natural Homemade Weed Killer Recipes
Published on
September 8, 2025
Author
Ryan Johnson
Ryan Johnson relocated to his grandfather's old farm when he was 22 years old where he discovered the joys of farming and gardening. With his cool demeanor and strong-willed passion for the agrarian lifestyle, he now shares his know-how to aspiring gardeners.
Sunflower Companion Plants Q&A
Q1: What are sunflower companion plants?
A: Sunflower companion plants are crops or flowers that grow well alongside sunflowers. They either benefit from the sunflower’s height, attract pollinators, or help repel pests. Examples include cucumbers, beans, marigolds, garlic, and squash. These best companion plants for sunflowers help create a healthier, more balanced vegetable garden.
Q2: Why should I plant sunflowers with companion plants?
A: Companion planting helps sunflowers grow stronger while improving your garden’s ecosystem. Some plants, like beans, fix nitrogen into the soil. Others, like onions and garlic, naturally repel harmful insects. Together, these sunflower companion plants enhance soil health, attract bees, and keep your garden pest-free — without chemicals!
Q3: What plants should I avoid planting with sunflowers?
A: Some plants don’t mix well with sunflowers. Avoid:
Potatoes – attract the same pests as sunflowers.
Pole Beans – compete for sunlight and space.
Fennel and other allelopathic plants – release chemicals that inhibit growth.
Basil and parsley – struggle with too much heat and shade.
These are plants to avoid because they can harm your sunflower plant’s growth or attract unwanted pests.
Q4: What does “allelopathic” mean in gardening?
A: The term allelopathic refers to plants that release natural chemicals (called allelochemicals) into the soil or air that affect nearby plant growth. For example, fennel and black walnut trees are allelopathic plants — they can stunt the growth of sensitive neighbors like sunflowers or beans. Always research before planting them together.
Q5: Can I plant sunflowers in a vegetable garden?
A: Yes! Sunflowers in vegetable gardens are fantastic companions. They attract pollinators that improve fruit yields for vegetables like tomatoes, cucumbers, squash, and beans. Their tall stalks also act as windbreaks, protecting smaller crops from damage. Just remember to plant sunflowers on the north side so they don’t block sunlight from shorter plants.
Q6: How close should I plant companion plants to sunflowers?
A: It depends on the type of companion plant:
Small herbs or root crops (carrots, onions, garlic): 6–8 inches away.
Medium crops (beans, cucumbers): 12–18 inches away.
Large crops (tomatoes, squash, corn): 2–3 feet away.
This spacing ensures good airflow and prevents allelopathic effects between plants.
Dumb Cane Plant (Dieffenbachia) Q&A
Q: What are the most common pests that affect dieffenbachia?
A: Like many tropical houseplants, dumb cane can attract common pests such as spider mites, mealybugs, and scale insects. Regularly inspect leaves and treat infestations with neem oil or insecticidal soap.
Q: How do I fix common problems like yellowing leaves?
A: Yellow leaves usually mean overwatering, while drooping may indicate underwatering. Adjust your watering schedule and check soil moisture to resolve these common problems.
Q: Can I propagate dumb cane easily?
A: Yes! You can propagate dieffenbachia from stem cuttings placed in water or soil. Within weeks, new roots will form, giving you new plants to enjoy.
Q: How often should I repot my dieffenbachia?
A: Most dieffenbachias benefit from a fresh pot every 2–3 years, or sooner if roots start circling. Repotting not only gives them more space but also refreshes soil nutrients.
Q: Why is the Dieffenbachia plant also known as dumb cane?
A: Dieffenbachia is also known as dumb cane because its sap contains calcium oxalate crystals, which can cause temporary swelling and numbness in the mouth if ingested, making it difficult to speak.
Q: Why do the large leaves droop?
A: Drooping leaves may mean your plant is thirsty, overwatered, or suffering from cold drafts. Always check soil moisture first. If the soil is soggy, repot into fresh soil with better drainage.
Q: Can I remove older leaves from my dumb cane?
A: Yes, removing older leaves that are yellow or damaged helps redirect the plant’s energy to new leaves. Always prune with clean scissors and avoid cutting too close to the main stem.
Q: Can dieffenbachia plants grow quite large?
A: Yes, given the right conditions, a dieffenbachia plant may grow quite large—up to 6 feet indoors and even taller in tropical climates. Regular pruning helps control its size and shape.
How To Grow Cauliflower Q&A
Q: What are the ideal growing conditions for cauliflower?
A: Cauliflower grows best in cool weather with temperatures between 60–70°F. It prefers a garden bed with fertile, well-drained soil, a pH of 6.0–7.0, and consistent moisture. Because cauliflower is more sensitive than other vegetable plants, it struggles in the heat of summer and thrives in spring and fall.
Q: Is cauliflower difficult to grow compared to other vegetables?
A: Yes, cauliflower is considered one of the more difficult to grow garden vegetables. Unlike broccoli and cauliflower’s other Brassica relatives, cauliflower is more sensitive to temperature swings, soil fertility, and watering. With careful timing and steady care, though, you can get excellent results.
Q: When should I start cauliflower seeds?
A: For a spring harvest, start cauliflower seeds indoors 4–6 weeks before the last expected frost. For a fall harvest, start cauliflower 6–8 weeks before the first fall frost date. Cauliflower is best started indoors as seedlings rather than direct sowing, since it needs steady growth without setbacks.
Q: How big should heads of cauliflower be before harvest?
A: Heads of cauliflower, also called cauliflower curds, are ready to harvest when they grow to 6 to 8 inches in diameter. Some cultivars may reach 8 inches in diameter or more, but it’s best not to wait too long or the curds will loosen and lose flavor.
Q: How many days does it take cauliflower to grow?
A: Depending on the cauliflower cultivars you choose, the time to grow from seed to harvest is usually 55–100 days. Spring-planted cauliflower matures faster, while fall crops may take longer but often produce tighter, better-quality heads.
DIY Weed Killer: Natural Homemade Weed Killer Recipes with Vinegar
Keeping your garden healthy and weed-free doesn’t have to mean relying on harsh chemicals. Many commercial weed killers are packed with toxic ingredients that can harm your soil, pets, and even beneficial plants. Luckily, there are safer and more sustainable alternatives you can make right at home. In this guide, we’ll explore DIY weed killer recipes using one of the most effective natural ingredients—vinegar. These homemade solutions are simple, budget-friendly, and eco-conscious, making them perfect for anyone who wants to control stubborn weeds while protecting the environment.
Benefits of DIY Weed Killers
Before we dive into recipes, let’s look at why more people are switching to homemade weed killers instead of relying on commercial herbicides.
1. Safe for People and Pets
One of the biggest concerns with chemical herbicides is the residue they leave behind. Many store-bought products contain harsh chemicals that can linger in soil, grass, or on plants long after application. This makes it risky for families with children and pets who love to play outdoors. Homemade weed killers, on the other hand, are typically made from safe, everyday ingredients such as vinegar, salt, or boiling water. These natural solutions don’t leave behind harmful toxins, allowing you to maintain a weed-free yard without worrying about exposure to dangerous chemicals.
2. Environmentally Friendly
Commercial weed killers don’t just affect weeds—they can disrupt ecosystems. The runoff from chemical sprays can seep into groundwater, affecting drinking water sources and nearby bodies of water. They can also harm pollinators, soil microbes, and beneficial insects that keep your garden balanced. DIY weed killers, by contrast, are made from biodegradable ingredients that naturally break down in the soil without causing long-term harm. By choosing homemade solutions, you’re protecting not only your garden but also the wider environment.
3. Cost-Effective
Herbicides at garden centers can be pricey, especially if you have a large lawn or garden that needs repeated treatments. DIY weed killers are much more affordable since they use pantry staples like vinegar, dish soap, and salt—items you likely already have at home. Even more advanced options, like cornmeal or mulch, are cost-effective compared to branded weed control products. Over time, making your own weed killers can save you a significant amount of money while still being just as effective.
4. Simple and Accessible
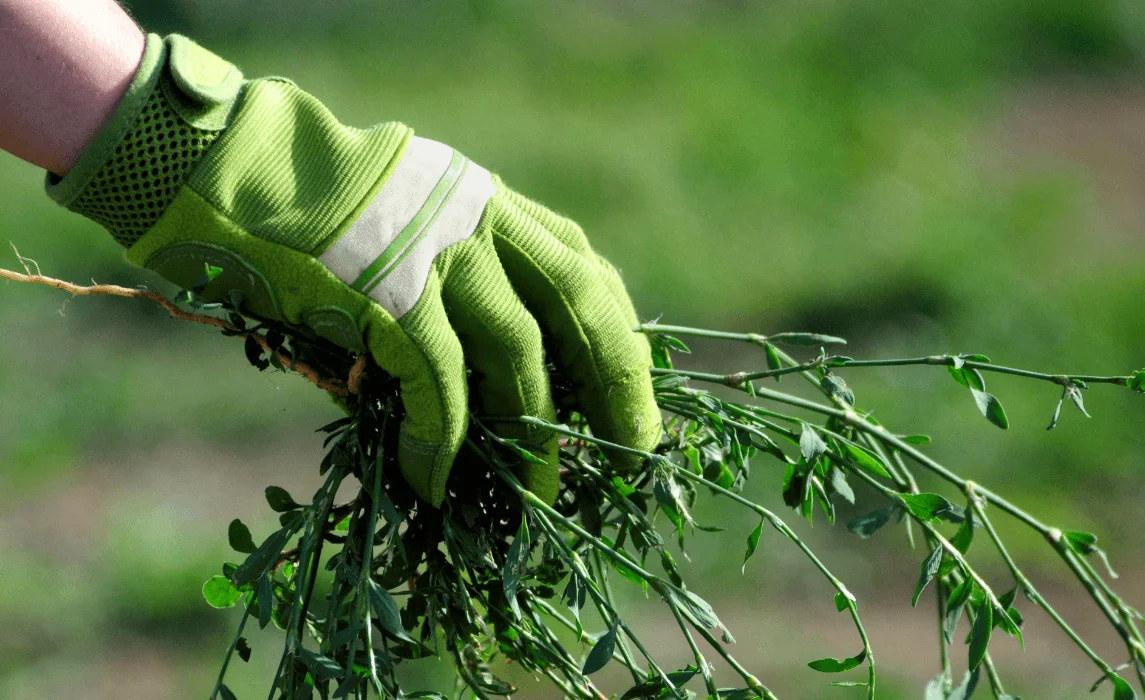
You don’t need special equipment, complicated mixing instructions, or advanced gardening skills to use DIY weed killers. Most methods only require basic household tools like a spray bottle, a kettle, or a pair of gardening gloves. Some approaches, like boiling water or hand pulling, can be done immediately without any preparation. This accessibility makes DIY methods ideal for beginners, busy homeowners, or anyone who wants a quick, natural solution to weeds without the hassle of handling toxic products.
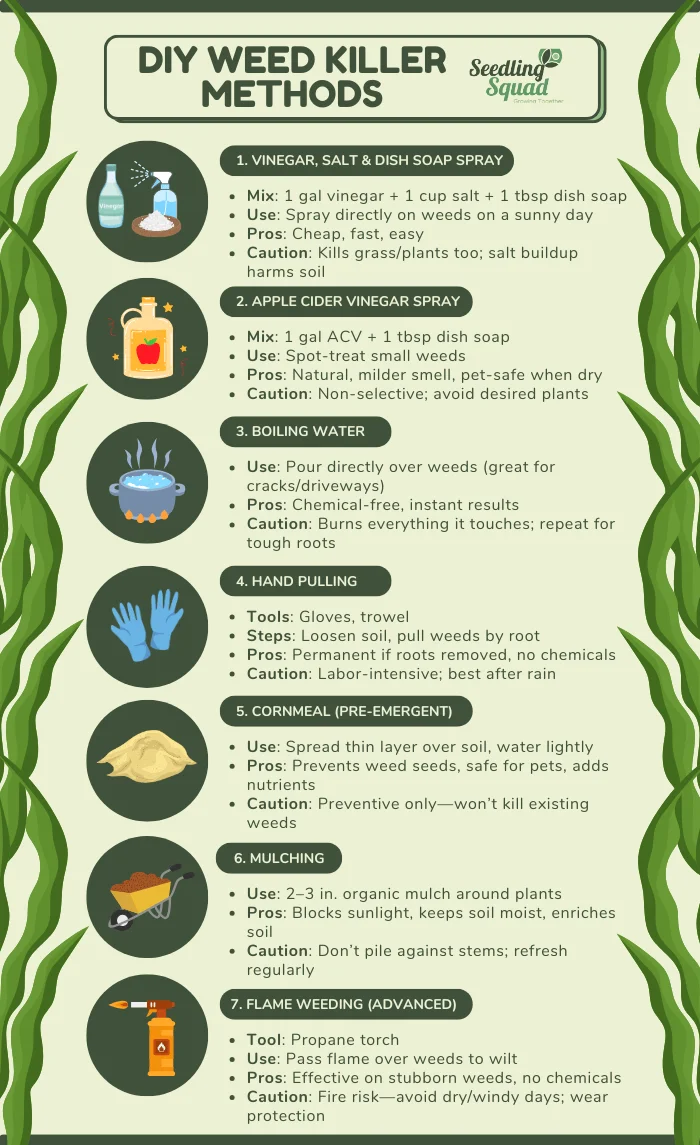
Here are some of the most effective and natural ways to kill weeds, ranked from the classic vinegar spray to simple everyday strategies like mulching and hand pulling.
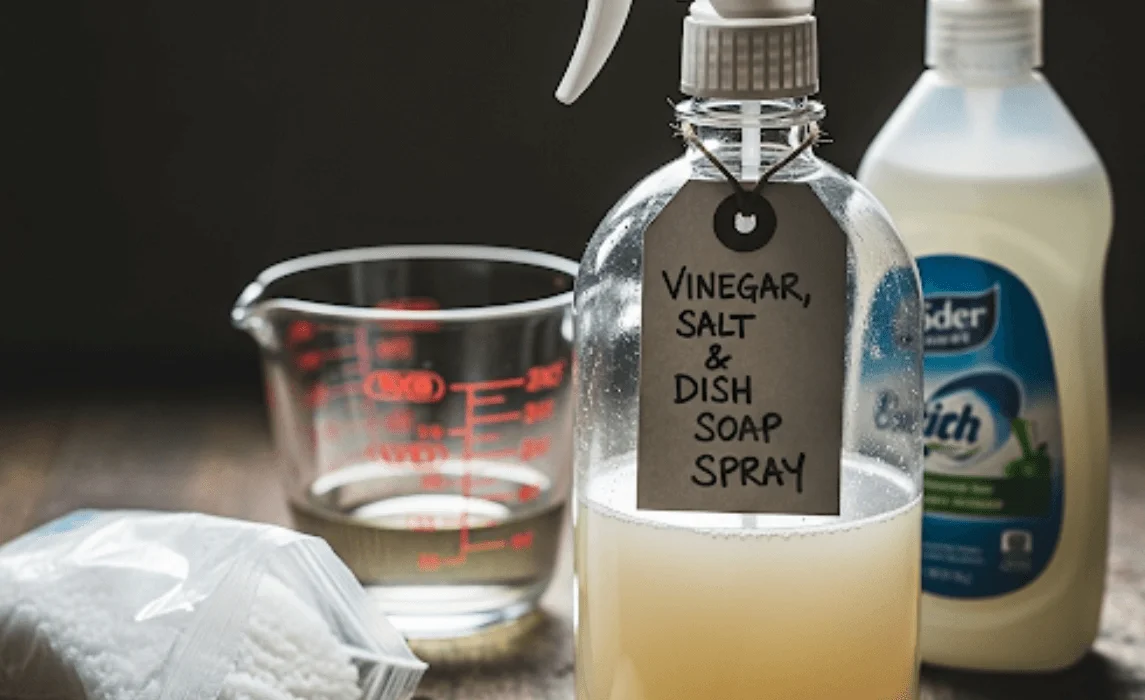
1. Vinegar, Salt, and Dish Soap Spray
This is the most popular homemade weed killer recipe because it’s effective, quick to prepare, and made from simple kitchen items.
Ingredients/Tools Needed:
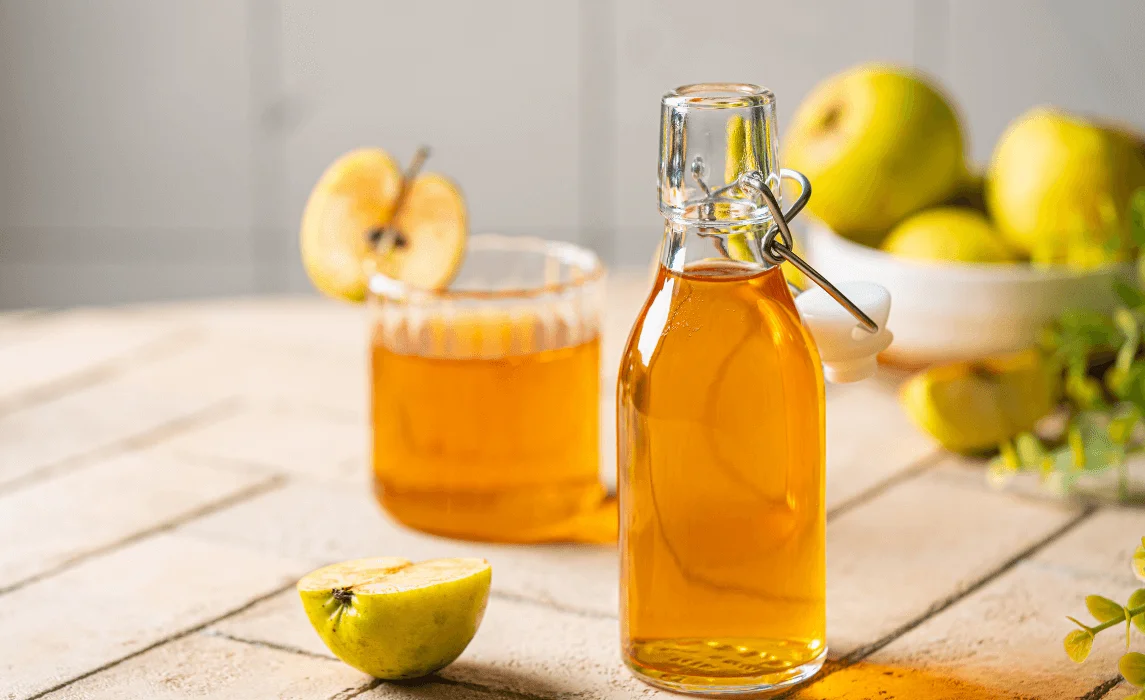
1 gallon of white vinegar (5% acetic acid or higher)
1 cup of salt (table salt or Epsom salt)
1 tablespoon of liquid dish soap
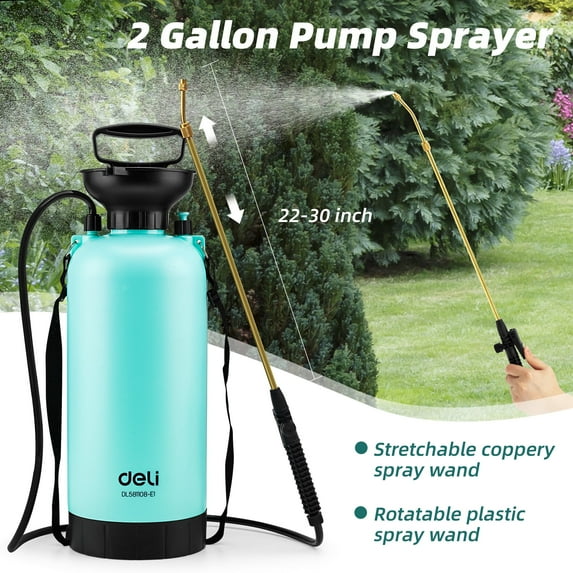
Spray bottle or garden sprayer
Step-by-Step Guide:
In a large bucket, mix vinegar and salt until the salt dissolves completely.
Add the dish soap and stir gently—don’t shake too hard or it may foam.
Pour the mixture into a spray bottle or pump sprayer.
Spray directly onto weed leaves, making sure they’re fully coated.
Apply on a sunny day for maximum effect, as sunlight speeds up the drying and killing process.
Advantages:
Budget-friendly and uses items already at home.
Works quickly, especially on young weeds.
Easy to prepare in under 10 minutes.
Notes & Safety:
Avoid spraying on grass, flowers, or garden plants since vinegar and salt are non-selective and will damage them too.
Salt buildup in the soil can make it harder for future plants to grow, so use sparingly.
Vinegar is effective at killing most young, tender, and shallow-rooted weeds such as chickweed or small annual weeds. The acetic acid in vinegar dries out the plant’s leaves and stems, causing them to wither. However, it’s less effective against deep-rooted or perennial weeds like dandelions, crabgrass, or thistles. These tougher weeds may require repeated applications, higher-strength vinegar, or a combination of vinegar spray with manual removal to fully eliminate them.
2. Can DIY weed killers harm grass and plants?
Yes. DIY weed killers such as vinegar, salt, and boiling water are non-selective, meaning they don’t distinguish between weeds, grass, or flowers. If they come in direct contact with your lawn, vegetable plants, or ornamental flowers, they can cause scorching, yellowing, or even death. To avoid harming desirable plants, apply these solutions carefully and directly on weeds, ideally with a spray bottle or by shielding nearby plants with cardboard or plastic during application.
3. Is homemade weed killer safe for pets?
Generally, yes—when used properly. Unlike chemical herbicides, homemade options like vinegar, salt, or boiling water don’t leave behind long-lasting toxic residues. Pets and children can safely return to treated areas once the vinegar has fully dried or the boiling water has cooled. However, concentrated vinegar (horticultural vinegar with higher acidity) can cause skin or paw irritation if touched while wet, so always let the treated area settle before allowing pets back.
4. How long does it take for natural weed killers to work?
Natural weed killers typically show visible effects within 24 hours. Weeds may start to wilt, turn brown, or dry up soon after application, especially in hot, sunny, and dry conditions, which speed up the process. For tougher weeds or cloudy weather, results may take longer, and you may need to reapply for complete control. Keep in mind that these methods work best on small or actively growing weeds, not large established ones.
5. Are these solutions permanent?
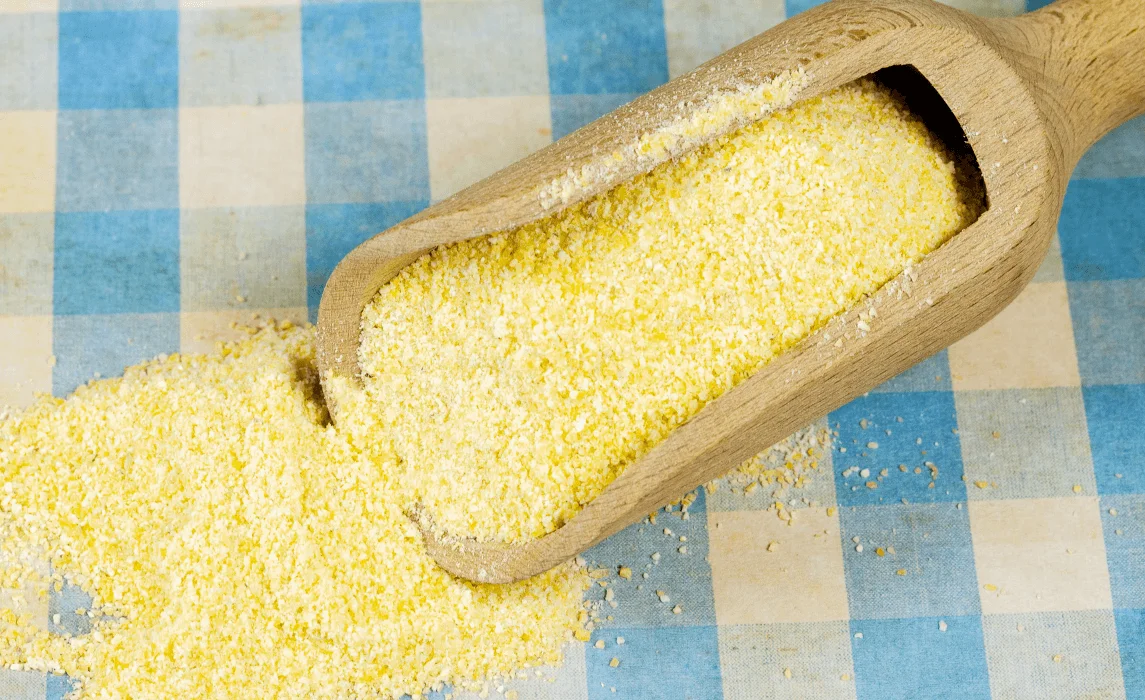
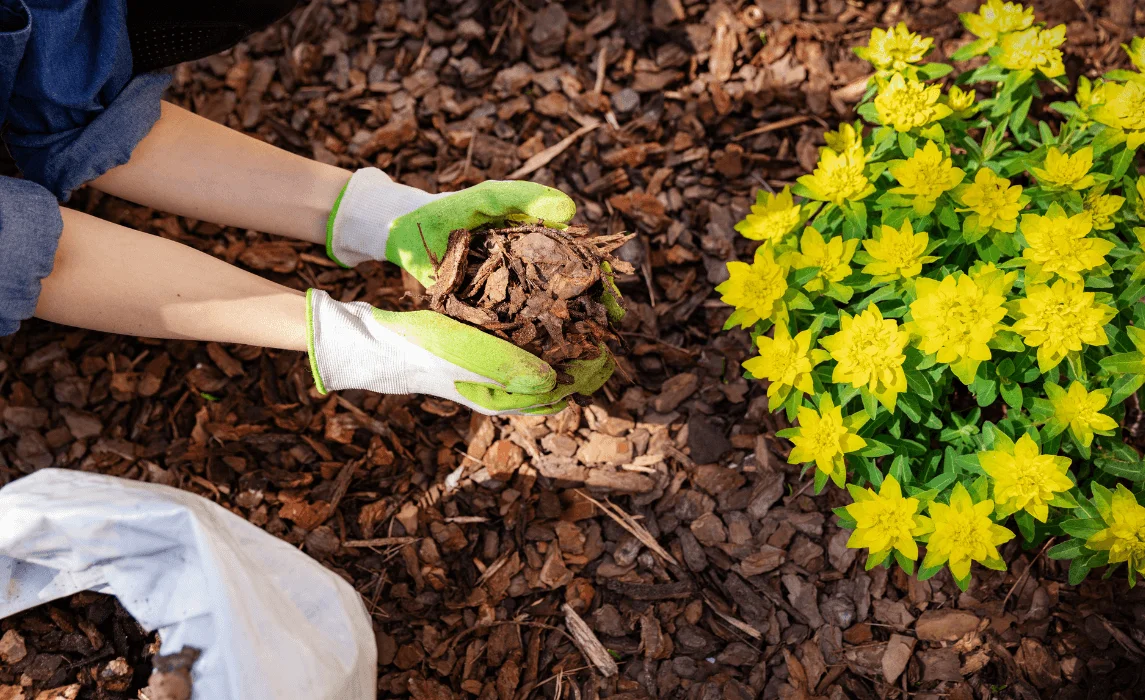
No, most DIY weed killers are not a permanent fix. While they kill the parts of the weed above the soil, many weeds—especially perennials—can regrow from seeds or deep root systems. To maintain a weed-free garden, combine these natural treatments with preventive strategies such as mulching, pulling weeds before they seed, applying corn gluten meal to block germination, or maintaining dense, healthy plant cover to crowd out weeds naturally.
Related posts
Here are some articles you might be interested in.


.webp)